Introduction
The motherboard is an essential component of any computer, responsible for connecting all the other parts together. One crucial feature of a motherboard is its sockets, particularly those that hold the CPU. However, these sockets can sometimes encounter problems, such as bent or damaged pins. Proper socket function is vital for the overall performance and stability of the computer.
In this guide, we will focus on the socket replacement process for an ASUS motherboard. This specific model is known for its size and complexity, making it an exciting challenge for any computer enthusiast. The motherboard itself is massive, consisting of multiple components and intricate circuitry.
By replacing the sockets, the motherboard can be restored to its full functionality. This process involves removing the damaged sockets, cleaning the area, and installing new ones. The result is a fully operational motherboard that is ready to power a computer system.
Identifying and Preparing the Defective Sockets
When it comes to replacing sockets on an ASUS motherboard, it is essential to identify and prepare the defective sockets properly. This section will guide you through the necessary steps to ensure a successful replacement process.
Description of the Location of the Sockets on the Motherboard
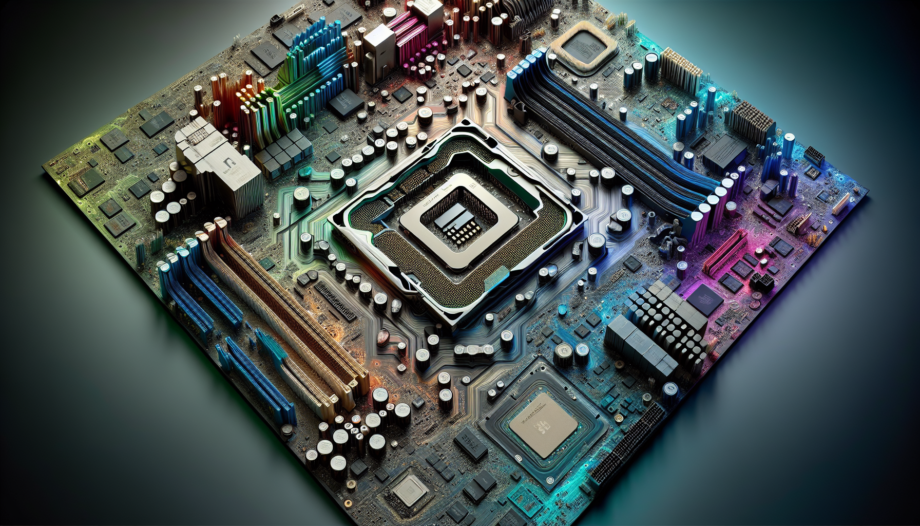
The sockets that hold the CPU are located on the motherboard. These sockets are crucial for the overall performance and stability of the computer. On the ASUS motherboard featured in this guide, the sockets can be found in a specific area.
Highlighting the Damaged Pins on Both Sockets
Before replacing the sockets, it is important to identify the damaged pins. In the case of the ASUS motherboard mentioned, the video transcript points out that several pins are bent or damaged on both sockets.
Explanation of the Removal of the Sockets
Once the damaged pins have been identified, the next step is to remove the sockets. The video transcript mentions that the damaged sockets were successfully removed from the motherboard. This process requires careful handling to avoid causing any further damage.
Cleaning the Sockets Before Installing New Ones
Before installing the new sockets, it is crucial to clean the area thoroughly. This ensures that there are no debris or contaminants that could interfere with the functionality of the new sockets. The video transcript suggests using flux and other appropriate cleaning tools for this step.
Comparison of the Customer-Supplied Socket with the Original
In the case of the ASUS motherboard featured in the video, there is a notable difference in the customer-supplied socket compared to the original. The video transcript mentions a notch on the customer-supplied socket that sets it apart from the original one. It is important to take note of any variations and ensure compatibility before proceeding with the replacement.
Installing the New Sockets
Now that the damaged sockets have been properly identified and prepared, it’s time to install the new sockets on the ASUS motherboard. This section will guide you through the step-by-step process, from preheating to the final alignment and cooling.
Introduction to the Preheating Process
Before installing the new sockets, it’s crucial to preheat the motherboard. This helps ensure that the soldering process goes smoothly and that the sockets adhere securely to the motherboard. The preheating process prepares the motherboard for the installation of the new sockets.
Step-by-Step Guide to Installing the First Socket
With the motherboard properly preheated, it’s time to install the first socket. Follow these steps:
- Apply flux to the area where the socket will be installed.
- Carefully place the first socket onto the motherboard, aligning it with the designated area.
- Apply heat to the socket, using the appropriate tools and techniques as recommended by the manufacturer.
- Ensure that the socket is securely attached to the motherboard before moving on to the next step.
Highlighting the Controlled Cooling Phase
Once the first socket is installed, the controlled cooling phase begins. This phase allows the solder to cool and solidify, ensuring a strong and stable connection between the socket and the motherboard. It’s important to allow sufficient time for the cooling process to complete before proceeding.
Mentioning the Installation of the Second Socket
After the controlled cooling phase, it’s time to install the second socket. Follow the same steps outlined for the installation of the first socket, ensuring proper alignment and secure attachment to the motherboard.
Description of the Final Alignment and Cooling Process
With both sockets installed, it’s important to check for proper alignment. Ensure that both sockets are parallel to each other and aligned correctly with the designated area on the motherboard. This ensures optimal performance and compatibility with the CPU.
Once the final alignment is confirmed, initiate the cooling process. Similar to the controlled cooling phase, allow sufficient time for the solder to cool and solidify, ensuring a strong and stable connection.
Conclusion
The author would like to apologize for not providing a final product demonstration in this blog. However, rest assured that the socket replacement process on the ASUS motherboard was successfully completed.
The author would like to inform viewers about the packaging and shipping plans for the motherboard. The final product will be carefully packaged to ensure its safety during transit. It will then be shipped out to its destination promptly.
The successful completion of the socket replacement is a significant achievement. It guarantees the full functionality and stability of the motherboard, allowing it to power a computer system effectively.
The author expresses satisfaction and readiness for future challenges. This socket replacement process was a unique and exciting experience, showcasing the complexity and size of the ASUS motherboard.
Viewers are encouraged to share their own experiences with socket replacements or any other computer-related challenges. The author values the community’s insights and is eager to learn from others.
Additional Illustrations
In order to enhance the visual appeal of this blog and provide more clarity, the author has included additional screenshots and images at suitable points throughout the article. These illustrations serve multiple purposes, such as highlighting important steps or components, providing visual reference, and improving the overall user experience.
By incorporating 1-2 relevant screenshots or images, readers can have a better understanding of the socket replacement process for an ASUS motherboard. These visuals help them visualize the specific areas discussed and follow along with the instructions more effectively.
For example, in the section “Identifying and Preparing the Defective Sockets,” an image is included to show the location of the sockets on the motherboard. This allows readers to easily identify and locate the sockets being discussed.
Throughout the installation process, screenshots are strategically placed to highlight the key steps involved. These images provide a visual guide, making it easier for readers to follow along and ensure they are performing the correct actions.
By including these additional illustrations, the author aims to improve the overall user experience and make the blog more informative and visually engaging. Readers can now refer to the screenshots and images for a better understanding of the socket replacement process on an ASUS motherboard.
Video Link
If you would like to watch the video demonstration of the socket replacement process on the ASUS motherboard, you can find it by clicking on the link below:
This video provides a visual guide that complements the information provided in this blog. It allows for a more comprehensive understanding of the socket replacement process and offers further reference for anyone interested in performing a similar task.
By embedding the YouTube video link at the end of this blog, the author ensures easy access to the original video. This seamless transition from the blog to the video allows viewers to continue their learning journey and explore the topic in more detail.