In this article, we will explore the process of repairing a 10 ripped-pin HDMI port. Shady, a technician from TDR, will guide us through the steps involved in fixing this delicate component. The aim is to provide a comprehensive understanding of the repair process, ensuring successful outcomes for those facing a similar challenge.
Identifying the Components
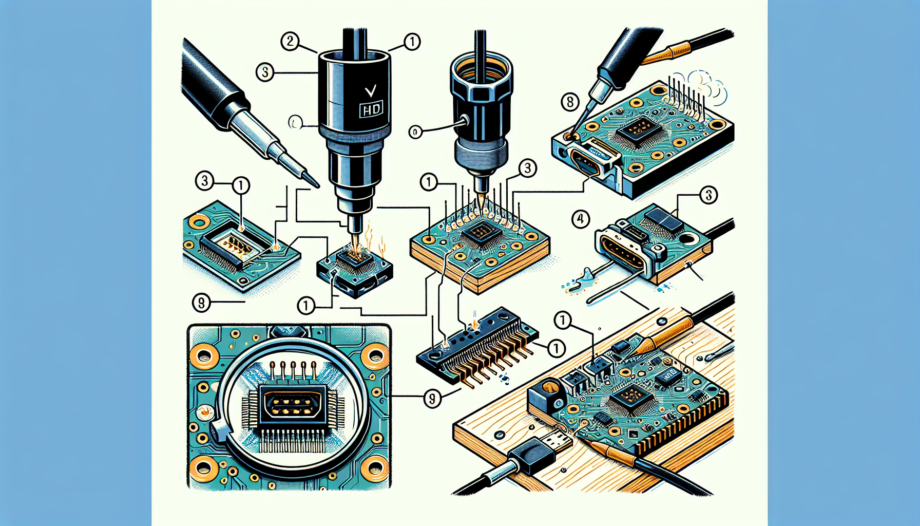
Before diving into the repair process, it’s essential to understand the various components involved. The 10-pin HDMI port consists of multiple solder joints and pads that connect the port to the circuit board. These connections allow for the transmission of high-definition audio and video signals.
Examining the Solder Joints
Shady begins the repair process by examining the solder joints of the HDMI port under a microscope. By doing so, he can ensure that the connections are secure and properly aligned. It is crucial to have a clear visual of the joints to identify any potential issues.
Addressing the Challenges
Shady encounters a significant challenge while repairing the HDMI port. Some of the pins have pads on the opposite side of the circuit board, making it difficult to patch them directly. To overcome this obstacle, Shady employs a workaround involving epoxy to prevent the wires from touching any grounds or interfering with other components.
Alternative Patching Solutions
While working on the repair, Shady points out an alternative patching solution. By utilizing a designated area on the circuit board, known as a donor board, he demonstrates how to establish a connection between the pin and the ground. This alternative method provides flexibility and ensures a secure connection.
Completing the Repair
After explaining the challenges and alternative solutions, Shady proceeds to complete the repair. With precision and expertise, he solders the necessary connections, ensuring a strong bond between the pins and the circuit board. Attention to detail is crucial at this stage to avoid any potential complications.
Conclusion
Repairing a 10-pin HDMI port can be a complex task, but with the right knowledge and guidance, it is achievable. Shady’s step-by-step instructions shed light on the intricacies of the repair process, highlighting the challenges faced and the alternative solutions available. By following these guidelines, technicians and DIY enthusiasts can successfully restore functionality to this vital component.
References
No references cited.