Introduction
Having a Nintendo Switch that won’t power on can be a frustrating problem for gamers. It’s important to understand the causes of this issue and the significance of fixing it. This section will provide an overview of the problem, explain why it’s crucial to address it promptly, briefly mention a potential solution, and give a teaser for the rest of the blog.
- Overview of the problem: When a Nintendo Switch fails to power on, it can be caused by various factors, such as damaged charging chips or burnt-out video chips.
- Importance of fixing a Nintendo Switch that won’t power on: A non-functional console means no gaming, and that’s simply unacceptable. Fixing the power issue is vital to get back to enjoying all the features and games that the Nintendo Switch has to offer.
- Brief mention of the solution: This blog will guide you through the process of diagnosing and repairing a Nintendo Switch that won’t power on. It will provide step-by-step instructions to help you troubleshoot and fix the issue.
- Teaser for the rest of the blog: In the upcoming sections, you will learn how to disassemble the Nintendo Switch, identify potential damage, replace faulty components, and reassemble the console. By following these instructions, you’ll have your Nintendo Switch up and running again in no time.
Identifying the Problem
When faced with a Nintendo Switch that won’t power on, it’s important to identify the root cause of the issue. Here are some steps to help diagnose the problem:
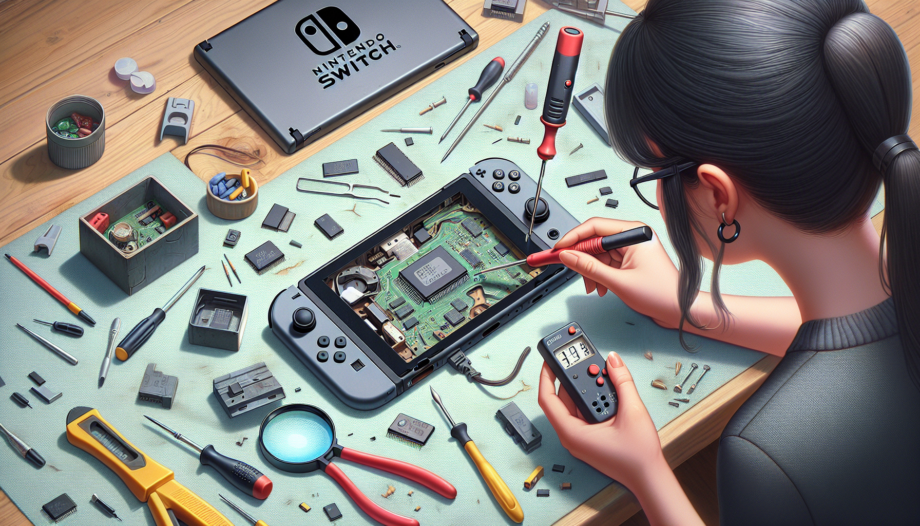
Testing the power with a tester
Before diving into the console, it’s a good idea to test the power using a tester. This will give an initial indication of the power flow and whether it’s within the expected range.
Signs of damage to look for
While inspecting the Nintendo Switch, keep an eye out for any visible signs of damage. Check the charging chip and the chip on the other side for any signs of physical harm.
Suspected faulty chip
If you suspect a particular chip is faulty, it’s worth further investigation. Remove the motherboard and conduct a continuity test to determine if the suspected chip is causing the issue.
Continuity test
A continuity test can help identify if there are any breaks in the electrical pathways. This test will reveal if the suspected chip is responsible for the power problem.
Shorted capacitors
In some cases, shorted capacitors can lead to a Nintendo Switch not powering on. Check for any signs of shorted capacitors and consider removing and replacing them if necessary.
By following these steps, you can narrow down the potential causes of the power issue in your Nintendo Switch. Identifying the problem accurately is the first step towards finding a solution.
Replacing the Faulty Chip
After identifying the problem with the Nintendo Switch, it’s time to replace the faulty chip. This section will guide you through the step-by-step process of removing the motherboard, prepping the site for the new chip, installing the new chip, reassembling the Nintendo Switch, and testing the results.
Removing the motherboard
To start the replacement process, you’ll need to remove the motherboard from the Nintendo Switch. Carefully disconnect all the necessary cables and screws to safely lift the motherboard out of the console.
Prepping the site for the new chip
Once the motherboard is removed, it’s important to prep the site where the new chip will be installed. Ensure that the area is clean and free from any residue or debris. This will help guarantee a proper connection between the chip and the motherboard.
Installing the new chip
Now it’s time to install the new chip. Take the replacement chip and align it correctly with the corresponding slot on the motherboard. Gently press the chip down until it is securely in place.
Reassembling the Nintendo Switch
With the new chip installed, you can begin reassembling the Nintendo Switch. Carefully reconnect all the cables and screws, ensuring that everything is securely fastened. Double-check that no cables are pinched or obstructed.
Testing the results
Once the Nintendo Switch is fully reassembled, it’s time to test the results. Plug the console into the charger and observe the amperage reading. A reading within the expected range indicates that the new chip is functioning properly. Additionally, check for any charge signals on the console, confirming that power is being received.
By following these steps, you should successfully replace the faulty chip in your Nintendo Switch. Remember to exercise caution and precision throughout the process to avoid further damage. If the issue persists, it may be necessary to seek professional repair or consult the manufacturer for assistance.
Encountering Another Issue
While working on the Nintendo Switch repair, the technician discovered another issue: a burnt-out video chip. This unexpected problem requires a part two in the repair process. In the upcoming blog post, the technician will guide readers through the steps of replacing the video chip, reassembling the console, and testing the results.
Replacing the video chip is a crucial step in getting the Nintendo Switch to power on and function properly. The technician will provide detailed instructions on removing the motherboard, preparing the site for the new chip, installing the new chip, and reassembling the console. It’s important to exercise caution and precision throughout the process to avoid further damage.
Once the console is fully reassembled, readers will learn how to test the results. By plugging the Nintendo Switch into the charger and observing the amperage reading, readers can determine if the new video chip is functioning properly. Additionally, checking for any charge signals on the console will confirm that power is being received.
The technician understands the anticipation surrounding the resolution of this issue and promises to deliver a comprehensive guide in the next part of the blog. Readers can look forward to an informative and detailed post that will help them successfully repair their Nintendo Switch. Stay tuned!
Conclusion
The Nintendo Switch repair process was a success! By following the step-by-step instructions provided in this blog, the faulty chip was identified and replaced, resulting in a fixed console. This demonstrates the importance of troubleshooting and replacing faulty components when encountering power issues.
Throughout the repair process, it became evident that thorough diagnosis is crucial. By testing the power and inspecting for signs of damage, the root cause of the problem was accurately identified. This allowed for a targeted approach to resolving the issue.
Replacing the faulty chip required careful disassembly, prepping the site, and precise installation. It is essential to exercise caution and precision to avoid further damage and ensure a successful repair. The amperage reading and charge signals confirmed the proper functioning of the new chip, providing reassurance that the power issue was resolved.
Although the Nintendo Switch is now functioning, it’s important to acknowledge the possibility of future repairs. Gaming consoles are complex devices with various components that can potentially fail over time. Therefore, it is advisable to stay updated on troubleshooting techniques and repair guides.
The author encourages readers to share their experiences with Nintendo Switch repairs. By exchanging knowledge and discussing challenges faced during the repair process, the community can provide support and valuable insights to others who may encounter similar issues.
In conclusion, successfully fixing a Nintendo Switch that won’t power on requires a systematic approach, accurate diagnosis, and careful component replacement. Troubleshooting and replacing faulty components are essential steps in resolving power issues. While this repair may have been accomplished, it’s important to stay informed and prepared for potential future repairs. Share your experiences and continue exploring the world of Nintendo Switch repairs!