
Table of Contents
- Introduction
- Step 1: Verifying Hardware Connections
- Step 2: Testing with the Hard Drive
- Step 3: One-Click Menu Test
- Step 4: Safe Shutdown and Restart
- Step 5: Troubleshooting without the Hard Drive
- Conclusion
Introduction
The white light of death is a common issue that many PlayStation users encounter. It refers to a problem where the console powers on, but there is no video output on the screen, only a white light. Diagnosing and troubleshooting this issue is crucial in order to determine the root cause and find a solution. This blog will provide you with a comprehensive guide on how to diagnose and troubleshoot the white light of death problem.
In this blog, you will learn about the importance of diagnosing and troubleshooting the white light of death issue. Understanding the cause of the problem is essential in order to implement the appropriate solution. We will also provide an overview of the steps that will be discussed throughout this guide, giving you a clear roadmap to follow.
By following the steps outlined in this guide, you will be able to effectively diagnose and troubleshoot the white light of death issue. Whether it’s related to the hard drive or other factors, we will cover different troubleshooting methods that can help you resolve the problem and get your PlayStation up and running again.
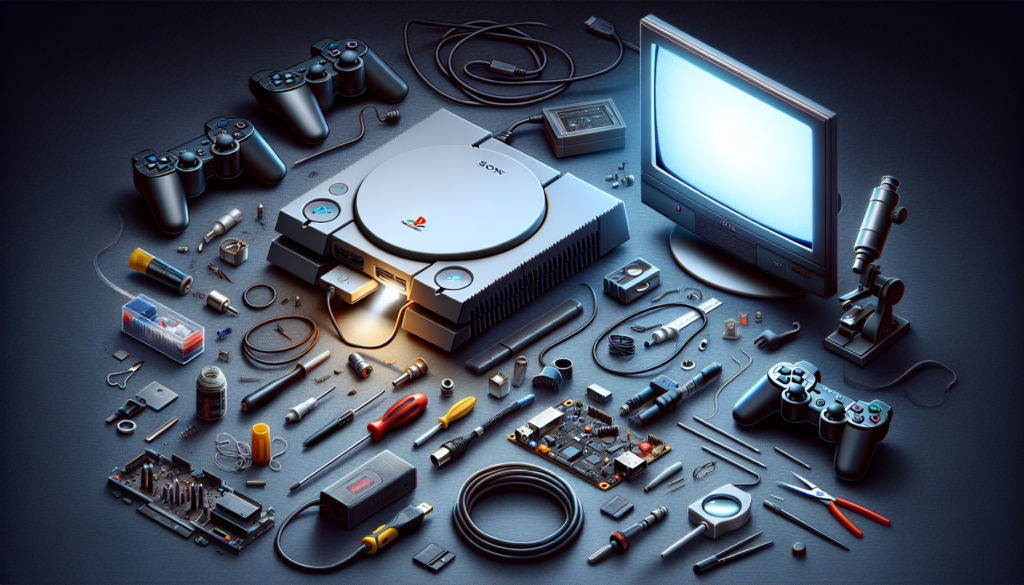
Step 1: Verifying Hardware Connections
In order to diagnose and troubleshoot the white light of death issue, the first step is to verify the hardware connections. This ensures that all necessary components are properly connected and functioning correctly.
Checking all HDMI Port Connections
Begin by inspecting the HDMI port connections. Make sure that the HDMI cable is securely plugged into both the console and the TV. If there are any loose connections, reseat the cable to ensure a proper connection. Additionally, check for any visible damage or bent pins in the HDMI ports. If any damage is found, it may be necessary to replace the HDMI cable or repair the ports.
Inspecting the Microscope for any Issues
Next, carefully inspect the microscope for any visible issues. Look for any damage to the lens or any loose parts. Ensure that the microscope is securely attached to the console and properly aligned. If there are any issues with the microscope, it may need to be repaired or replaced.
Ensuring Proper Power Supply
Lastly, ensure that the console is receiving a proper power supply. Check that the power cord is securely plugged into both the console and the power outlet. If using a power strip or surge protector, make sure it is functioning correctly. Try plugging the console directly into a different power outlet to rule out any potential issues with the current outlet or power source.
By verifying the hardware connections, you can eliminate any potential issues related to faulty connections or power supply. If all the connections are secure and there are no visible issues, proceed to the next step in the troubleshooting process to further diagnose the white light of death problem.
Step 2: Testing with the Hard Drive
The hard drive plays a crucial role in the startup process of your PlayStation. If you have encountered the white light of death, testing the hard drive can help determine if it is the root cause of the problem. Here’s how you can perform this test:
Performing a Scan of the Storage Drive
If you have recently performed a hard shut off or removed the power cord while your PlayStation was in standby mode, it is possible that the storage drive needs to be scanned. To do this, turn on your console and wait for the white light to appear. Although there may be no picture on the screen, this indicates that the system is attempting to start from the hard drive. Allow the console to load for a few moments. If the storage drive scan is the issue, the white light will persist and no picture will be displayed.
Interpreting the White Light and Lack of Picture
If you see a white light but no picture, it is a strong indication that you are in the system’s BIOS or a similar built-in mode. This usually occurs when the console is unable to start up properly from the hard drive. By performing the steps mentioned above and observing the white light, you can confirm that you are indeed experiencing the white light of death.
It’s important to note that if you have recently replaced the HDMI port and are still encountering the white light of death, it is unlikely that the issue lies with the hard drive. In such cases, it may be necessary to explore other troubleshooting methods.
Step 3: One-Click Menu Test
To further diagnose and troubleshoot the white light of death, it is important to perform a one-click menu test. This test helps you understand the significance of a one-click response and analyze the menu options and screen display. Here’s how you can perform the test:
Understanding the Significance of a One-Click Response
A one-click response refers to the menu that appears when you press the power button once on your PlayStation. This menu gives you options to cancel or press OK. By observing the screen during the one-click response, you can determine if there is any display or if the white light persists without any picture. This is a key indicator of the white light of death issue.
Analyzing the Menu Options and Screen Display
During the one-click response, carefully analyze the menu options and screen display. If the menu appears on the screen at 480p but there is still no picture, it confirms that you are experiencing the white light of death problem. This indicates that the system is unable to start up properly from the hard drive.
Shutting Down the System Correctly
After performing the one-click menu test, it is important to shut down the system correctly. Press and hold the power button until you hear the first beep, then the second beep. Release the button to initiate a safe shutdown. Wait for the white light to turn off, indicating that the system has shut down properly.
By performing the one-click menu test, you can gather crucial information about the white light of death issue. This test helps you confirm if the problem lies with the hard drive and allows you to proceed with appropriate troubleshooting methods.
Step 4: Safe Shutdown and Restart
Performing a safe shutdown and restart is an important step in troubleshooting the white light of death issue. Follow these steps to ensure a safe shutdown and restart of your PlayStation:
Performing a Safe Shutdown Process
After completing the necessary tests and diagnostics, it is important to shut down your PlayStation correctly. This ensures that the system is properly powered off and prepares it for a clean restart. To perform a safe shutdown, follow these steps:
- Press and hold the power button until you hear the first beep.
- Continue holding the power button until you hear the second beep.
- Release the power button to initiate a safe shutdown.
Waiting for the White Light to Turn Off
Once you have initiated the safe shutdown, you will need to wait for the white light on your PlayStation to turn off. This indicates that the system has shut down properly. It may take a few moments for the white light to disappear completely.
Troubleshooting Tips in Safe Mode
If you are still experiencing issues with the white light of death even after a safe shutdown and restart, you can try troubleshooting in safe mode. Safe mode allows you to access additional settings and options that can help resolve the problem. To enter safe mode, follow these steps:
- Ensure that your PlayStation is completely powered off.
- Press and hold the power button until you hear the first beep.
- Continue holding the power button until you hear the second beep.
- Release the power button to enter safe mode.
Once in safe mode, you will be able to navigate through different troubleshooting options and perform tasks such as rebuilding the database or updating the system software. Refer to the PlayStation documentation or online resources for specific troubleshooting steps in safe mode.
By performing a safe shutdown and restart, you can ensure that your PlayStation is properly powered off and ready for troubleshooting. If the white light of death issue persists, you can further troubleshoot in safe mode to identify and resolve any underlying problems.
Step 5: Troubleshooting without the Hard Drive
If you suspect that the issue lies with your hard drive, you can troubleshoot without it to further diagnose the white light of death problem. Here are the steps to follow:
Removing the Hard Drive for Potential Issues
To begin, power off your PlayStation completely. Then, carefully remove the hard drive from the console. Inspect the hard drive for any visible damage, loose connections, or signs of malfunction. If you notice any issues, it may be necessary to replace the hard drive.
Entering Safe Mode without the Hard Drive
With the hard drive removed, you can now enter safe mode to troubleshoot without it. Power on your console and wait for the first beep, then the second beep. Release the power button to enter safe mode. Without the hard drive, the system will still attempt to start up and display any potential error messages or issues.
Checking HDMI Mode and Cable Functionality
While troubleshooting without the hard drive, it’s important to ensure that you are in the correct HDMI mode on your TV. Use the input source or HDMI select function on your TV remote to switch to the appropriate HDMI input. This ensures that the console’s video output is being displayed on the screen.
Additionally, double-check the functionality of your HDMI cable. If possible, test the cable with another device to ensure it is working properly. If you suspect the cable is faulty, try using a different HDMI cable to connect your PlayStation to the TV.
Interpreting the White Light and Lack of Picture
Even without the hard drive, if you still see a white light but no picture on the screen, it confirms that you are experiencing the white light of death issue. This indicates that the problem may not be related to the hard drive itself.
By troubleshooting without the hard drive, you can gather additional information about the white light of death problem. This process helps to narrow down the possible causes and allows you to proceed with the appropriate troubleshooting steps.
Conclusion
In conclusion, diagnosing and troubleshooting the white light of death issue on your PlayStation requires a systematic approach. By following the steps outlined in this comprehensive guide, you can effectively identify the root cause and implement the appropriate solution.
Recap of the Troubleshooting Steps
To recap, the troubleshooting steps covered in this guide include:
- Verifying hardware connections, such as HDMI ports and power supply
- Testing the hard drive for potential issues
- Performing a one-click menu test to analyze screen display
- Performing a safe shutdown and restart
- Troubleshooting without the hard drive to isolate potential causes
Importance of Thorough Diagnosis
Thoroughly diagnosing the white light of death issue is crucial in order to avoid unnecessary repairs or replacements. By following the troubleshooting steps in a systematic manner, you can accurately identify the underlying problem and take appropriate action.
Tips for Seeking Professional Help if Needed
If you are unable to resolve the white light of death issue on your own, it may be necessary to seek professional help. Here are a few tips for finding reliable assistance:
- Research and read customer reviews for repair services or technicians
- Ask for recommendations from friends or online communities
- Ensure that the repair service offers a warranty on their work
- Obtain a detailed quote before proceeding with any repairs
Remember, it’s always important to weigh the cost of repair against the value of your PlayStation. In some cases, it may be more cost-effective to consider purchasing a new console.
Final Thoughts
The white light of death problem can be frustrating, but with the right troubleshooting methods, you can successfully resolve the issue. Take your time, follow the steps outlined in this guide, and don’t hesitate to seek professional help if needed. By doing so, you can get your PlayStation up and running again and continue enjoying your favorite games.